Did you know you can use your iPhone as a scanner to scan documents and images? Here's how.
Follow these steps or watch the video below.
- Head into your Notes app on your phone - this is where all your iPhone's scanner features live.
- Once you're there, tap the pen icon in the bottom corner to start a new note
- In the new note you have a few icons appear mid way down the screen. Tap the camera icon and we'll then see some extra options.
- Press scan document to get the scanning process started.
- Grab the document you want to scan (works best if it is placed on a flat surface) and focus it inside the camera frame.
- The document will be surrounded by a yellow box once your iPhone has recognised it.
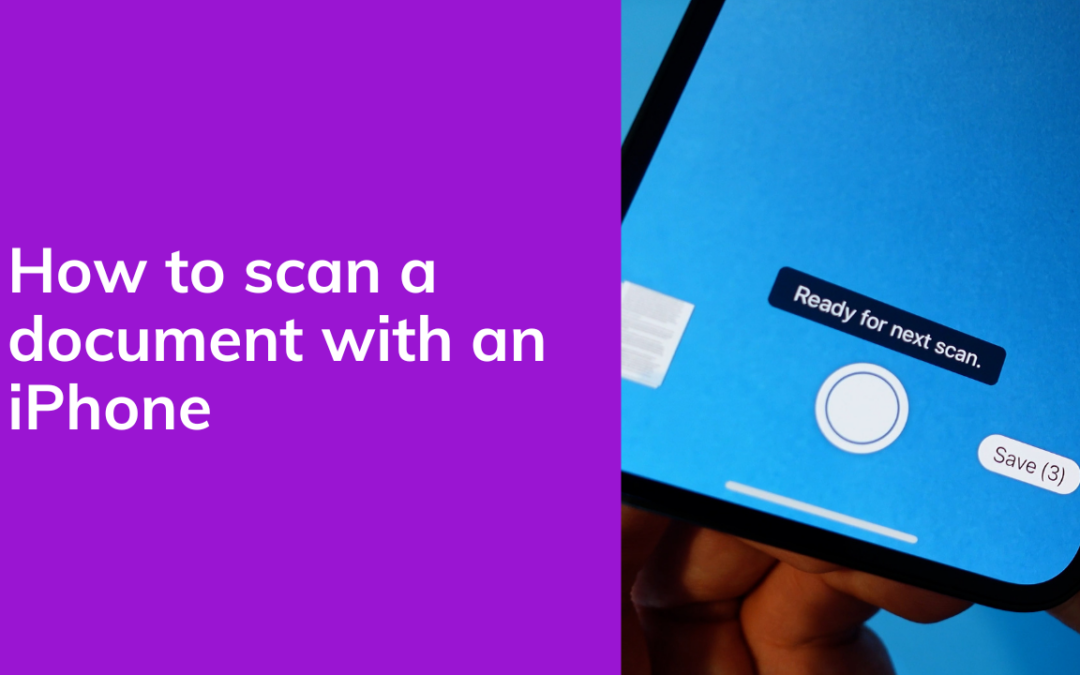
- If your iPhone camera doesn't automatically recognise the document after a couple of seconds, you can also press the circle capture button to capture it manually.
- If you have a document with several pages just follow this capture process with each page one after the other.
- When you've finished capturing all the pages, just press the save icon.
- The documents will then appear in your notes and you can add any text you'd like underneath or edit the name of the file.
- If you want to delete a page, tap the toolbar on the top right and you'll see three dots appear on the pages - tap that and along with several other options you'll also see delete page.
- Your scanned documents can then either be viewed on your phone or you can share or email them as a PDF document.
https://youtu.be/o5Typp6zAYI
Subscribe to our newsletter for more mobile phone help and tips.