Here's how to screen record on an iPad.
Follow these simple steps or watch our helpful step-by-step video below.
- Firstly we're going to add the screen recorder shortcut button to your control centre.
- Open your settings app and scroll down to control centre.
- On the right you'll see some already included controls.
- Scroll on the right until you see screen recording, tap the green + icon next to it and scroll back up, it should now be in your included controls.
- Head back to the home screen and swipe down from the top right to get to control centre - you'll now see the screen record icon.
- Tap the record icon that and a 3-2-1 countdown will start before it starts recording.
- You'll know your iPad has started recording by the red icon at the top right of your screen.
- When you're finished tap the same red icon on the top right and you'll see a prompt to stop recording.
- Once you've stopped recording, you will get a notification telling you your screen recording has been saved successfully.
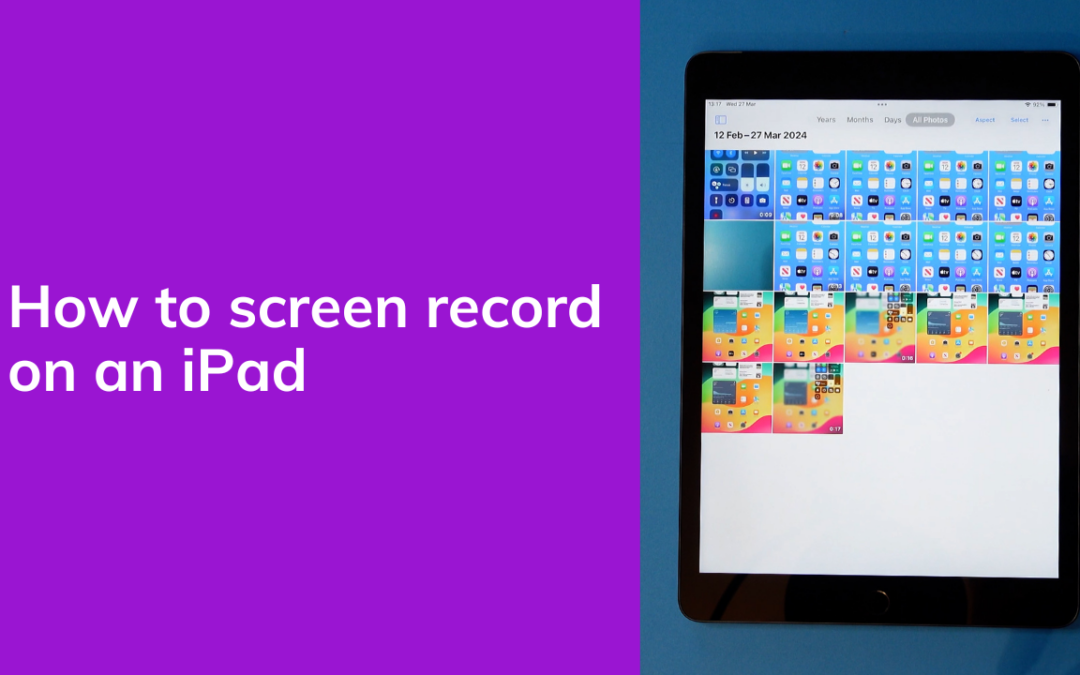
- Head into your photos app to view your recording where you can also edit it like any other video file.
https://youtu.be/Gmg_9hsGnho
Subscribe to our newsletter for more mobile phone help and tips.