Roam freely at the World Cup with The Football Fever Travel eSIM
The 2026 FIFA World Cup, the biggest in history, expanding across three nations and redefining global football on an unprecedented scale.
Team
27 Jul 2026
Open your flyout (bottom-right corner), if Cellular settings are visible, your laptop supports eSIM
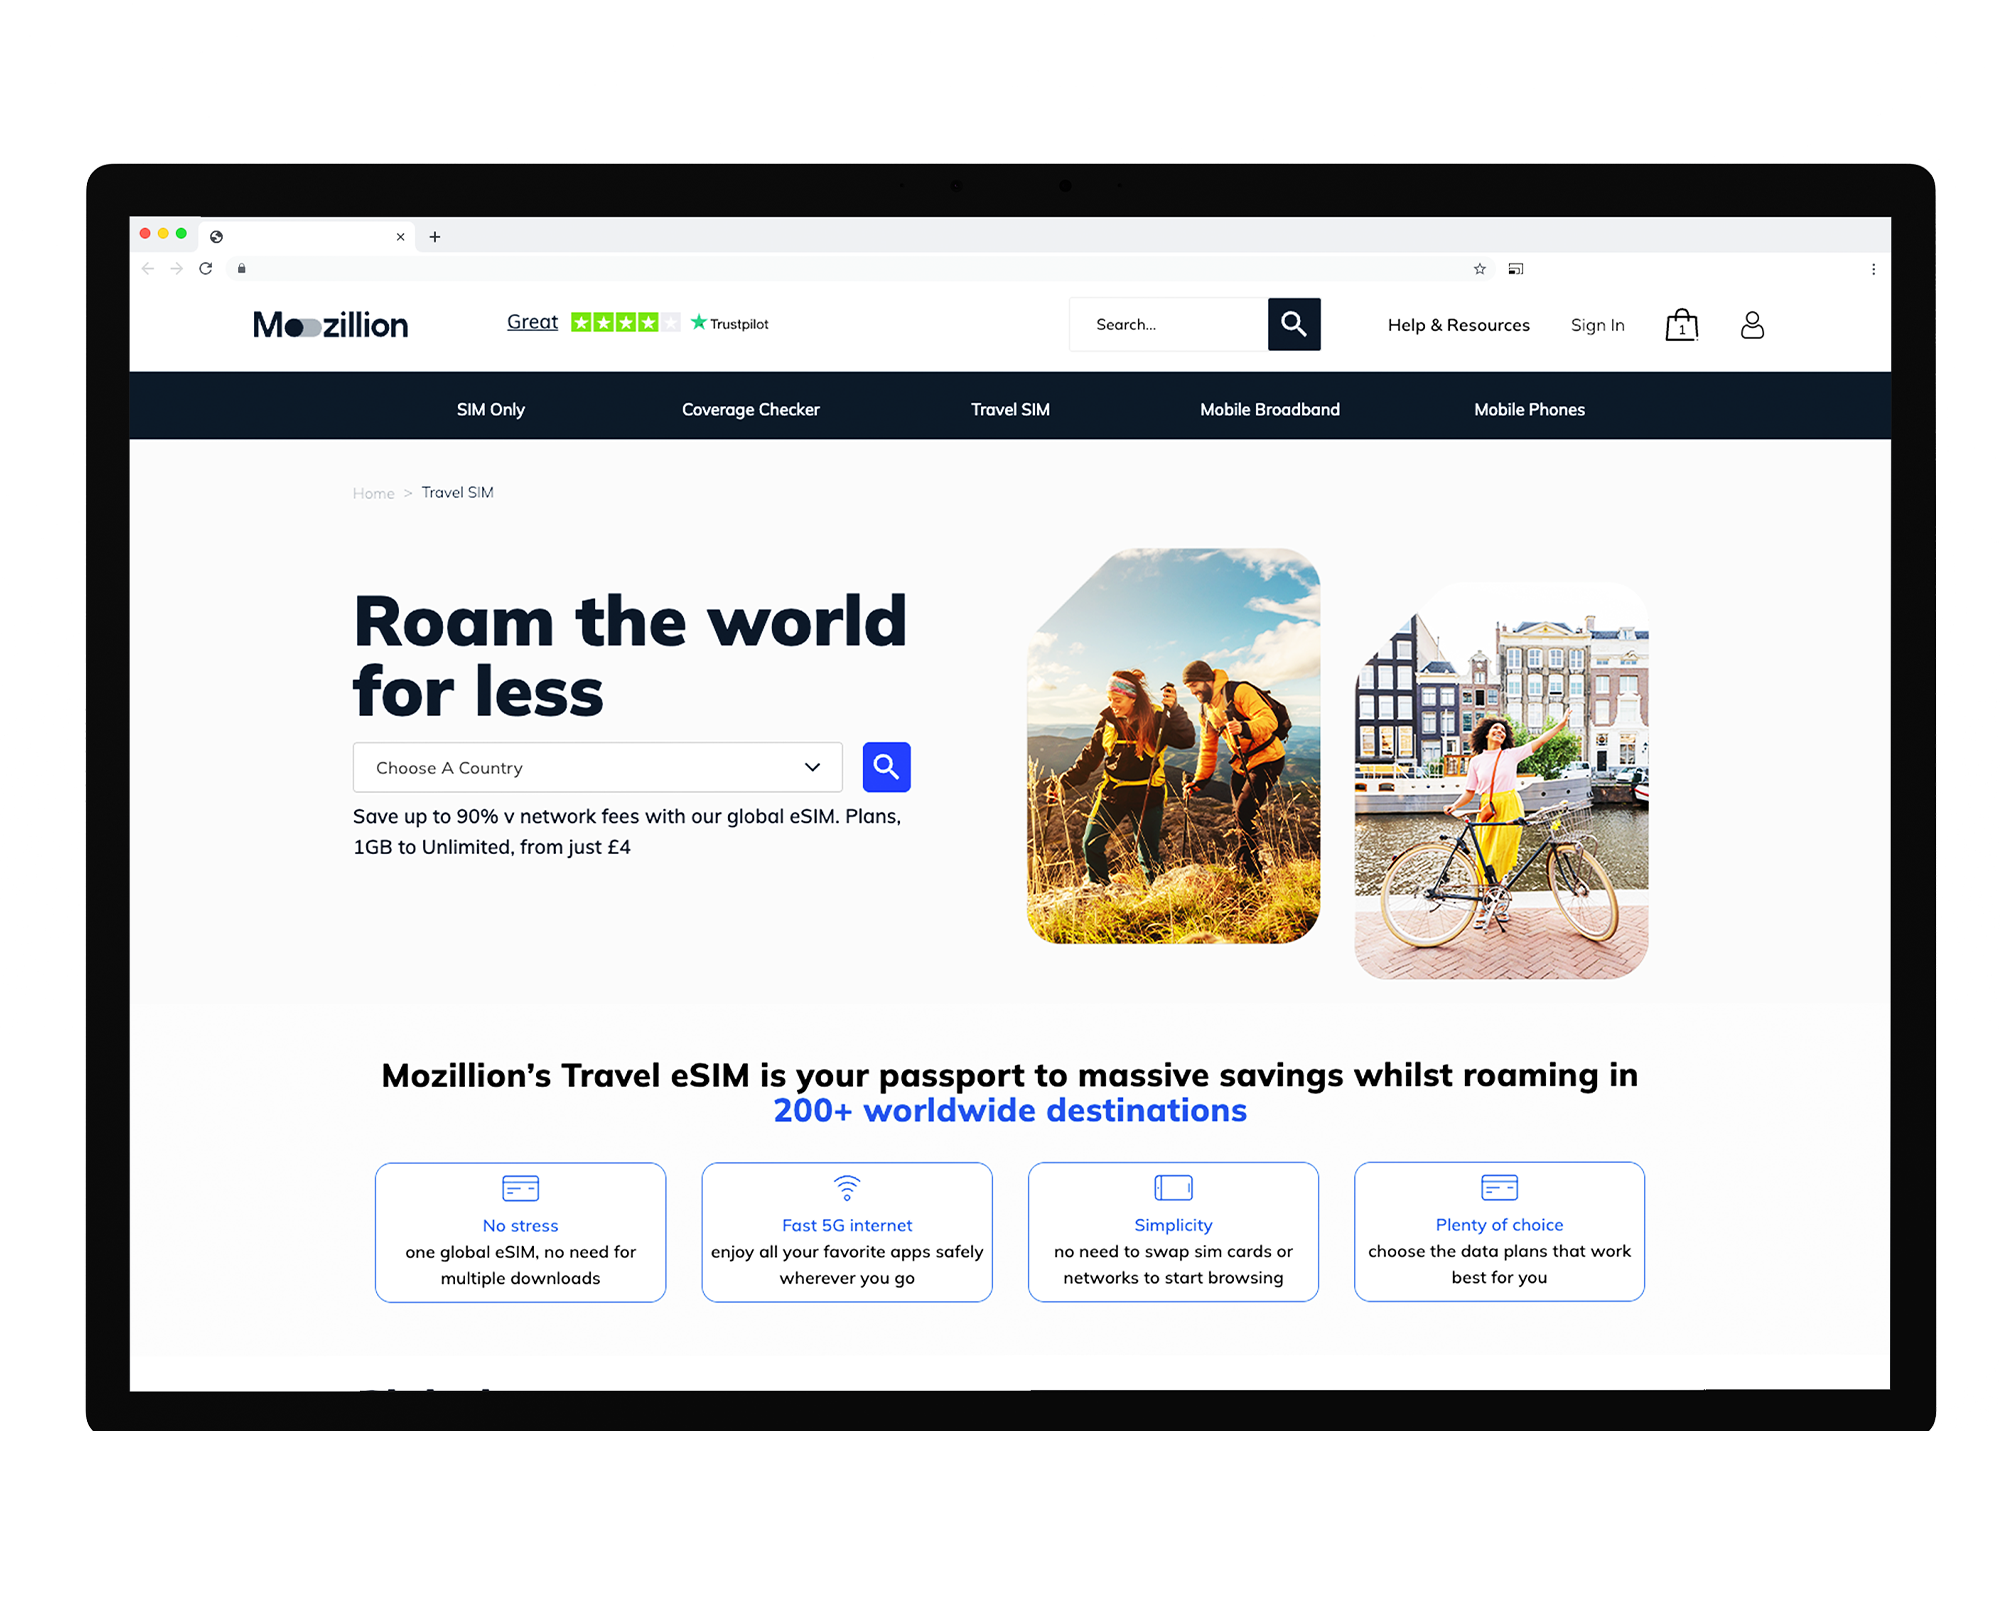
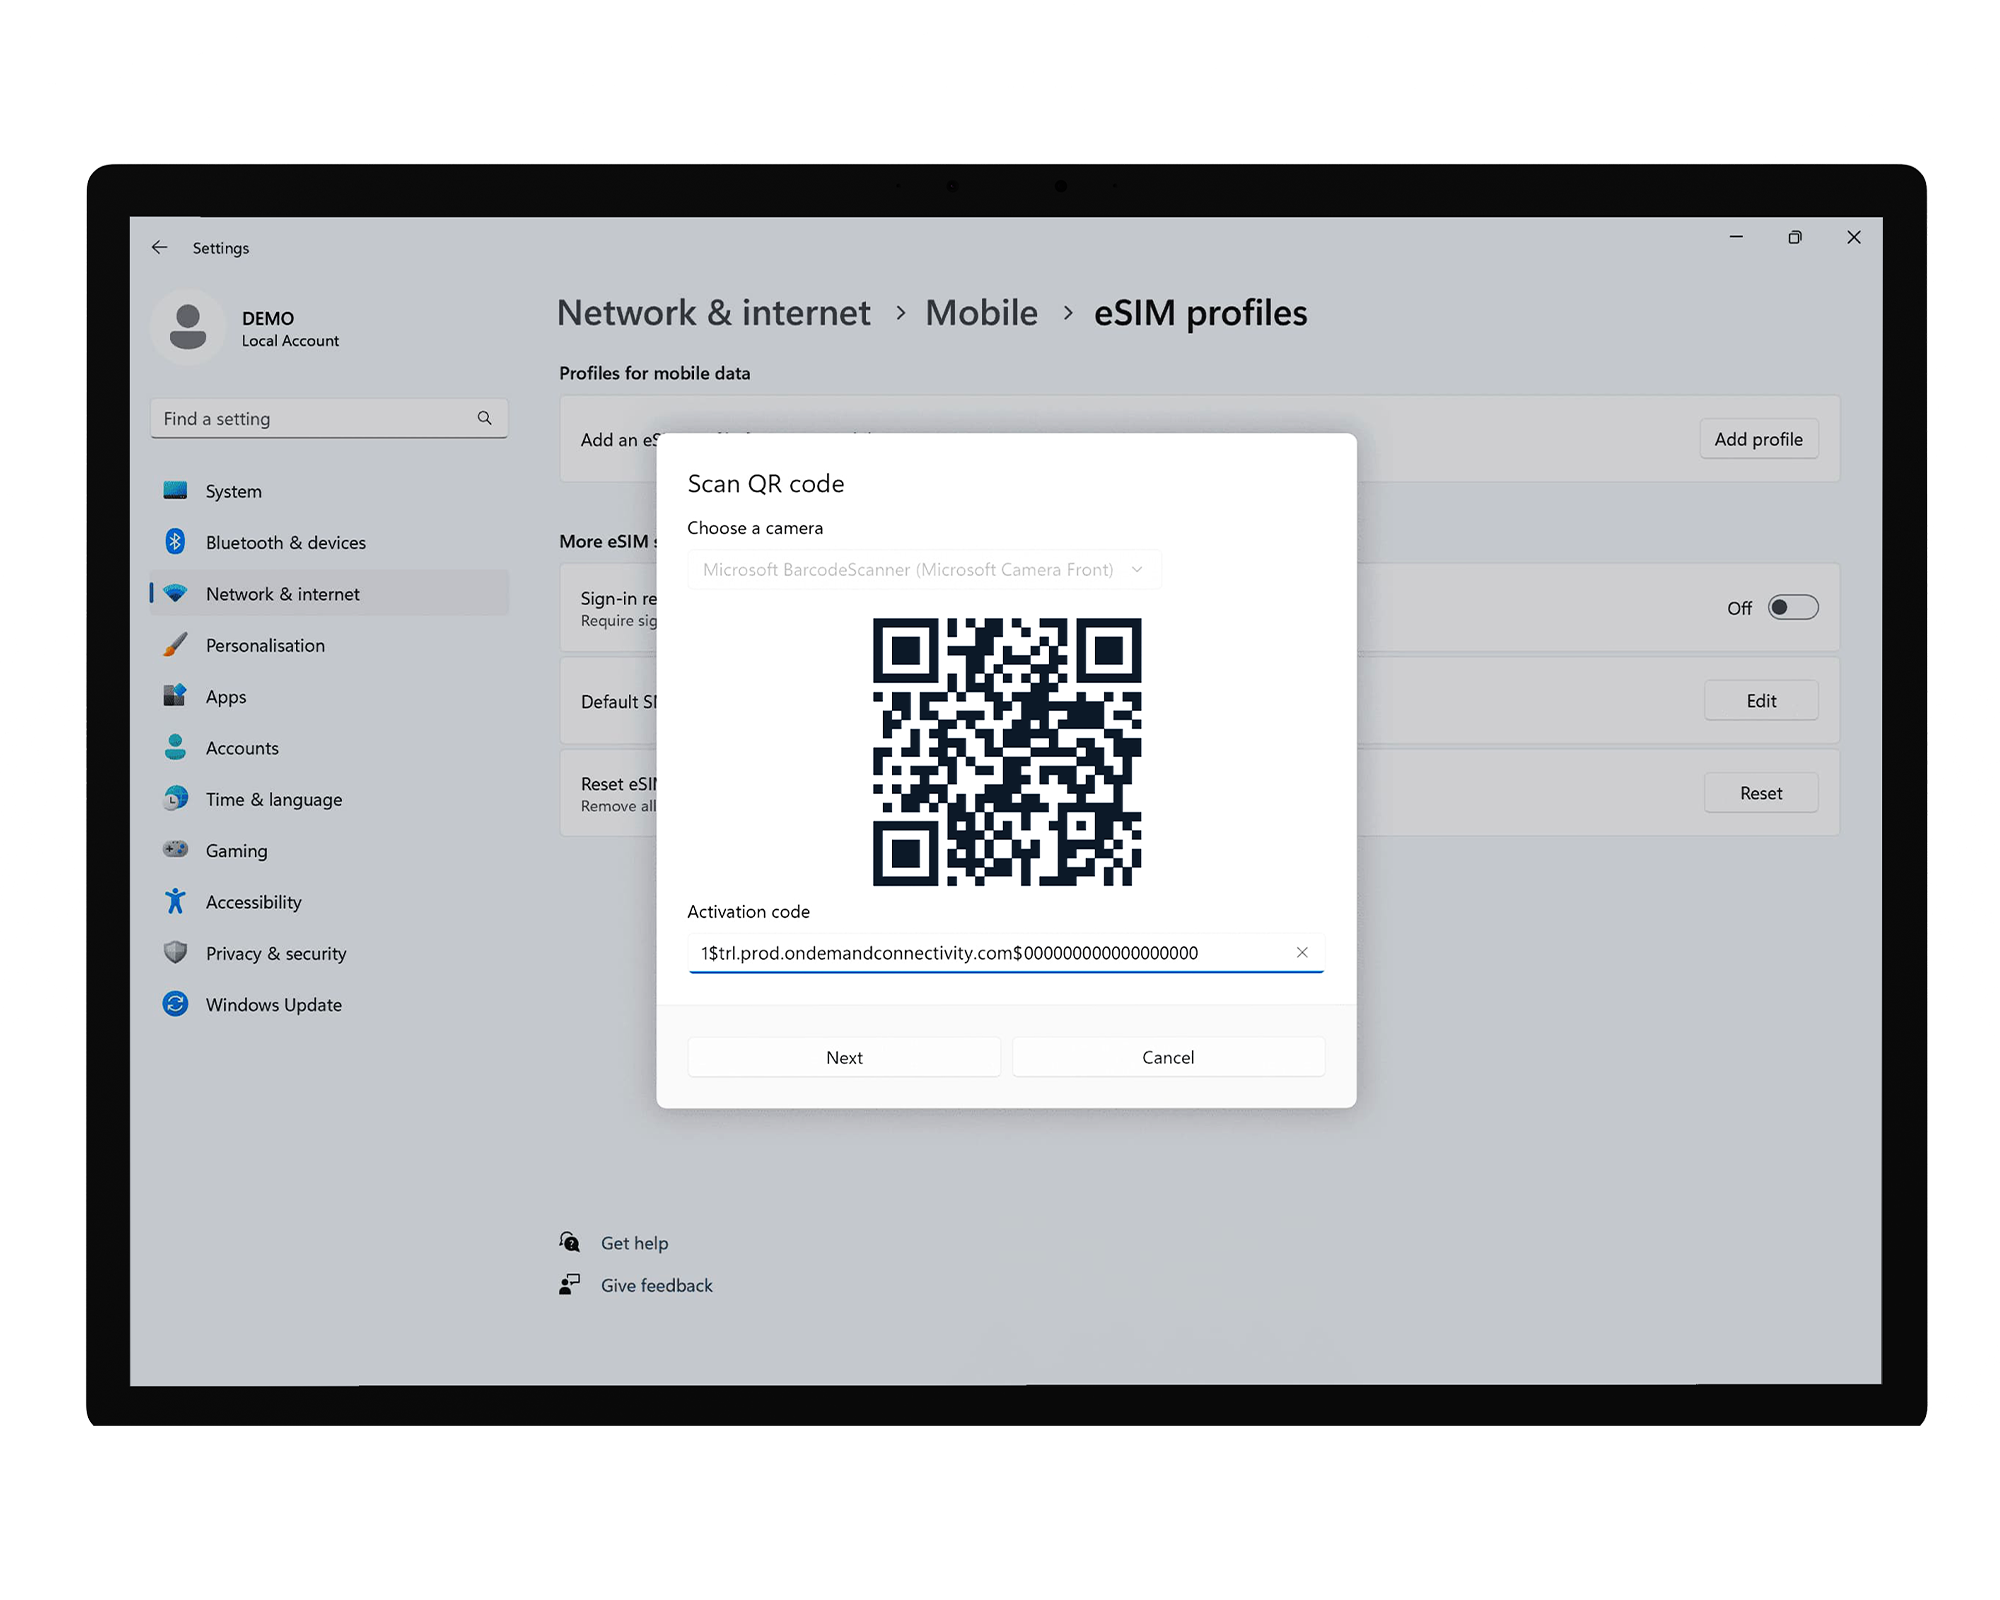
Choose your destination(s), select a suitable data plan and complete the purchase. On payment a QR code will be emailed to you almost instantly.
Go to your Network settings, click on Cellular, then on Add profile and enter the activation code received by email.
Make sure you have switched off Data Roaming on your primary line before you leave.
Your data use will start upon arrival, make sure you have selected Mozillion for mobile/cellular data.
Switch off your Cellular Data and restore usual settings.
The installation or compatibility of the eSIM feature may differ by country and/or the model version of the device. Mozillion is not responsible for country or specific model compatibility.
The 2026 FIFA World Cup, the biggest in history, expanding across three nations and redefining global football on an unprecedented scale.

Mountains, beaches, ancient towns, markets, and some of the best food in the world – Vietnam has everything, and this backpacker route from south to north with 10 destinations takes you through all of it.

Are you planning your trip to Europe? Thinking of spending days walking along beaches on the Amalfi coast, looking around the Sagrada Familia in Barcelona or catching the Northern lights in Iceland? Well, Mozillion’s European Regional eSIMs will offer you effortless connectivity throughout your trip across up to 55 countries with just one simple download.